Mastering the Art of Using Jump Rings in Jewelry Making
Jump rings may be one of the smallest components in jewelry making, but they are among the most essential. These tiny loops of metal connect charms, clasps, pendants, and chains, holding your designs together while adding both function and style. Mastering the use of jump rings is crucial for creating durable, professional-quality pieces. Whether you are a beginner or an experienced jeweler, understanding how to choose, open, close, and incorporate jump rings can significantly improve the craftsmanship of your work.
What Are Jump Rings?
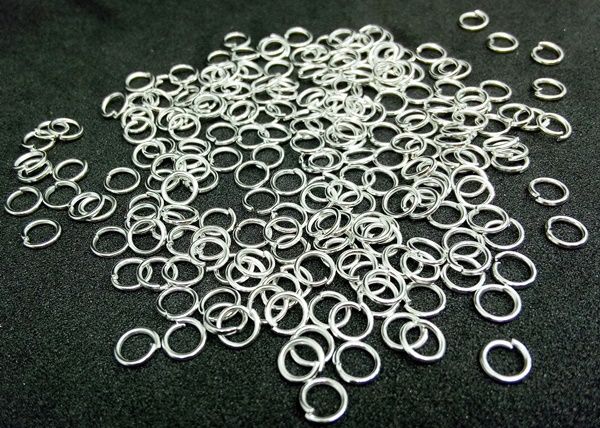
Jump rings are small metal loops, usually made from wire, that are shaped into circles, ovals, or other geometric designs. They come in a variety of metals such as sterling silver, gold-filled, stainless steel, aluminum, and brass. They are used to connect components in jewelry, from attaching a clasp to a chain to linking charms onto a bracelet.
Their versatility makes them a fundamental supply in jewelry making, but their small size also means that working with them requires precision and proper technique.
Choosing the Right Jump Ring
Selecting the correct jump ring for your project depends on three main factors: size, gauge, and material.
-
Size (Diameter)
The outer or inner diameter of a jump ring determines how much space it will provide for connecting components. Smaller rings are best for delicate jewelry or tight connections, while larger rings work for bold statement pieces or multiple links. -
Gauge (Thickness)
Gauge refers to the thickness of the wire used to make the jump ring. Thicker gauges (like 18 or 16) are stronger and more secure but can be harder to work with. Thinner gauges (like 22 or 24) are easier to manipulate but may not hold up well under stress. -
Material
-
Sterling Silver – Elegant and tarnish-prone, ideal for fine jewelry.
-
Stainless Steel – Extremely strong and corrosion-resistant.
-
Gold-Filled – A luxurious look without the cost of solid gold.
-
Aluminum – Lightweight and easy to work with, perfect for beginners.
-
Brass or Copper – Warm tones for vintage-inspired designs.
-
Opening and Closing Jump Rings the Right Way
One of the most common mistakes beginners make is opening jump rings by pulling the ends apart sideways. This weakens the ring, distorts its shape, and can make it impossible to realign.
Correct Technique:
-
Hold one side of the jump ring with a pair of flat-nose pliers.
-
Grip the other side with another pair of pliers.
-
Twist one side toward you and the other away from you—like turning a doorknob—rather than pulling apart.
-
To close, reverse the motion while slightly pushing the ends together until they align seamlessly.
This method preserves the ring’s circular shape and ensures it retains its strength.
Techniques for Securing Jump Rings
Even when closed properly, jump rings can open under stress. Here are some tips to make them more secure:
-
Work-Hardening: Gently hammer the closed ring with a rawhide mallet to strengthen it without damaging the surface.
-
Soldering: For high-value or frequently worn jewelry, soldering the ring closed ensures it will never open.
-
Double-Ringing: Use two jump rings side by side for added durability, especially when attaching heavy pendants.
Creative Uses for Jump Rings
While jump rings are often seen as purely functional, they can also be decorative. Some creative uses include:
-
Chainmaille Designs: Interlink multiple jump rings to create intricate patterns for necklaces, bracelets, or even earrings.
-
Spacer Elements: Use them between beads for an airy, modern look.
-
Charm Clusters: Layer charms on multiple jump rings for jewelry a textured, dynamic effect.
-
Decorative Links: Mix metals and sizes for a unique, handmade aesthetic.
Common Mistakes to Avoid
Even experienced jewelers can make small errors when working with jump rings. Watch out for:
-
Not Matching Metals: Mixing metals unintentionally can lead to mismatched designs or tarnish issues.
-
Using the Wrong Gauge: Too thin, and the ring may bend; too thick, and it may be hard to work with or won’t fit through component holes.
-
Improper Alignment: Even a small gap in the closure can cause your piece to fall apart over time.
-
Overlooking Quality: Cheaply made jump rings may have weak seams or uneven shapes.
Essential Tools for Working with Jump Rings
The right tools make handling jump rings much easier:
-
Two Pairs of Pliers: Flat-nose, chain-nose, or bent-nose pliers are ideal.
-
Magnifying Glass or Lamp: Helps with precision, especially for small rings.
-
Beading Mat: Keeps rings from rolling away while you work.
Final Thoughts
Jump rings may be small, but they play a big role in both the structure and beauty of your jewelry. By choosing the right size, gauge, and material, mastering the correct opening and closing techniques, and exploring creative applications, you can transform your designs from basic to professional. Whether you are linking delicate charms or building a bold chainmaille bracelet, the art of using jump rings is a skill worth perfecting.
Once you master them, these tiny connectors will become the foundation for endless creative possibilities in jewelry making.