How to Install a Stair Nosing Strip – Step-by-Step Guide

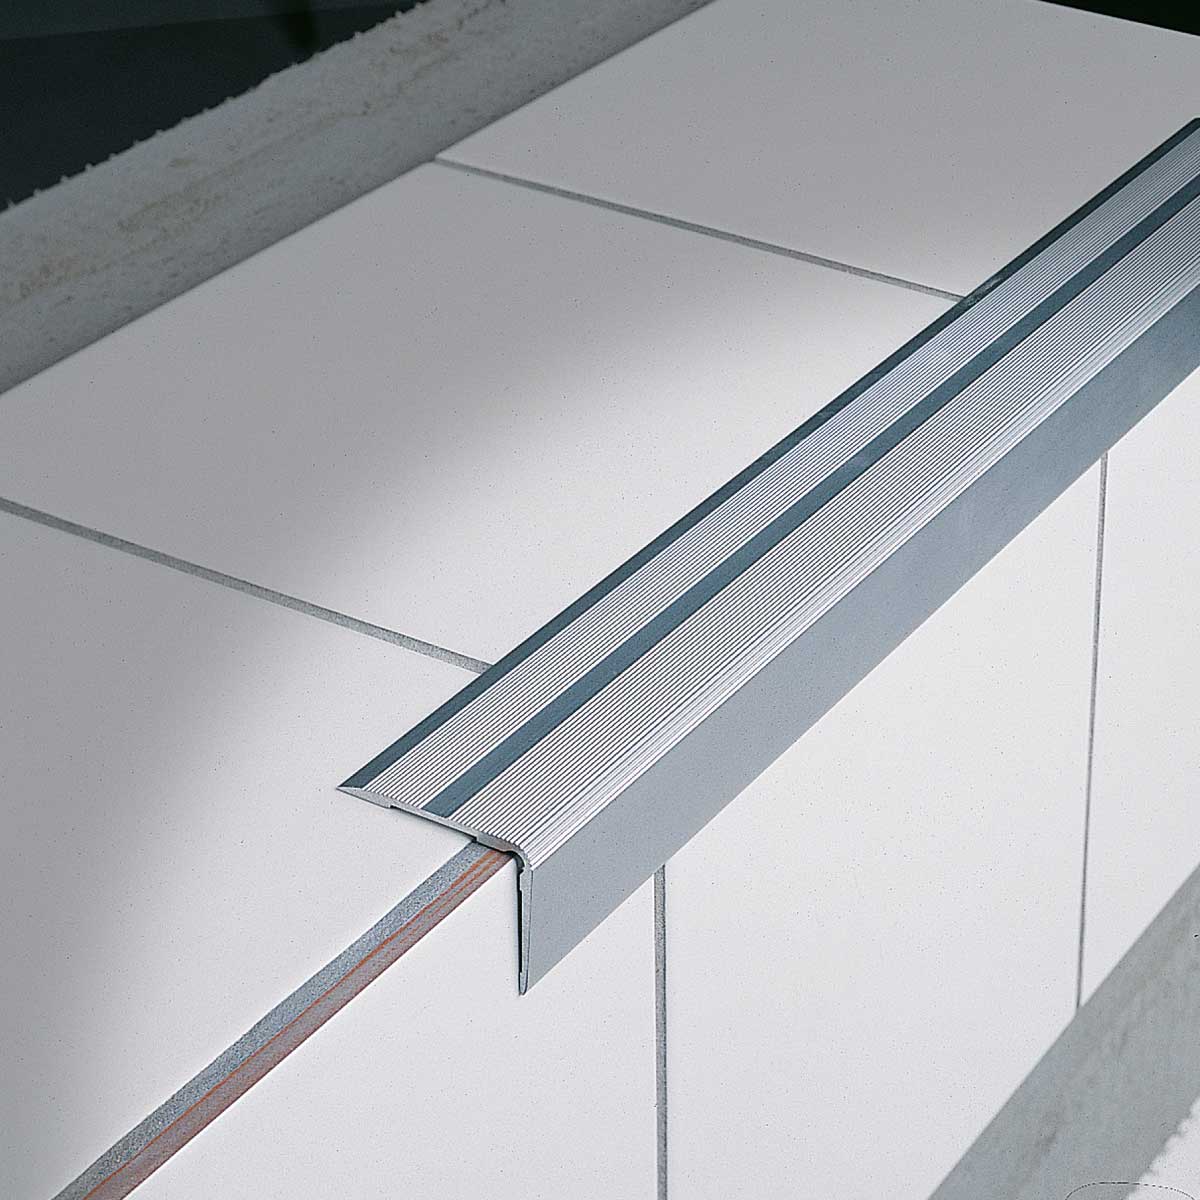
Stair nosing strips don’t get much credit, yet they quietly boost safety, toughen each step, and upgrade the overall look of your stairs. By sitting on the very edge, these strips guard against chips, cut down on slips, and soak up the daily grind that can ruin wood or concrete. Whether you’re working in a family home or a busy office lobby, installing Stair Nosing strips is an easy weekend task worth tackling. A strip made from aluminum, PVC, wood, or rubber is then glued or screwed onto that lip, providing extra texture, a clear visual line, and a shield against moisture or scuffs.
A staircase nosing is a thin piece of plastic that is secured to the edges of every landing edge on a staircase. Stair noses can be built of a variety of materials, such as metal, wood, and rubber, and can take on a variety of shapes and dimensions. Stair tread nosing can be modern and trendy or traditional and designed to go with traditional staircases.
Aluminum nosing: Tough, slip resistant, and perfect for busy workplaces or outside steps; PVC or rubber nosing: Flexible, quiet, and great for indoor paths around the house.
Wooden nosing: Stains up to your hardwood for a barely noticeable edge, but remember it needs sealing against wear and water.
Measure and Cut the Nosing Strips
Measure the total run of each tread with a tape; check twice. Trim the strips using a hacksaw for metal or PVC, or a fine-tooth miter saw for hardwood. Smooth any rough ends with sandpaper or a small file.
Clean and Ready Stairs: start with clean, dry stairs for a safe, strong bond. Sweep or vacuum off dust, crumbs, and sticky tape residue. On adhesive jobs, lightly scuff the tread face with 120-grit paper, then wipe away the shavings with a damp cloth and let everything dry.
Mark the Drill Holes
First sit the nosing strip on the step and check how it lines up. Use a sharp pencil or a bit of marking tape to show where the holes will go. Most strips arrive with holes, but feel free to drill fresh ones if they are missing. Space screws six to ten inches apart so the strip stays flat under foot and doesn’t lift over time.
Drill the Pilot Holes
With the marks in place, bore small pilot holes using a bit that matches your stairs-whether wood, tile, or concrete. For tile or concrete, switch to a masonry bit, tap in plastic anchors, then make sure each one sits tight before moving on.
Secure the Nosing Strips: Follow what the maker says; strips can go down simply with screws, glued on, or even fixed by both methods together.
Screw Installation: Insert screws into the pilot holes and run them home. Fasten snugly, yet stop short of bending the strip, just tight enough to grip.
Combination: Where steps see heavy traffic, use both screws and adhesive for the toughest bond that keeps the nosing in place long after the first install.
Verify the Fit and Finish
After you set each Anti Slip Stair Nosing strip, look it over to be sure it sits flat and grips the tread firmly. There must be no visible gaps or sharp edges. Wipe away any leftover glue with a clean cloth and check that all screws have been driven flush. A strip that isn’t seated right can turn a normal step into a trip.
Stair Nosing Strips Maintenance Tips
Maintenance Cleaning
Give the strips a quick wipe or dust now and then to keep them looking good and help shoes grip. Check Periodically: Every so often, look for loose screws or bent edges and tighten or straighten them as needed.
Replace When Worn Out: Swap out any strip that chips, cracks, or thins so the stairs stay safe.
Advantages of Stair Nosing
Improved Safety
The extra lip lowers slip chances, especially on sleek tiles or highly polished wood.
Durability
Strips shield stair edges from chipping, denting, and the day-to-day hammering of feet.
Better Visibility
Bright paint or a contrasting strip makes the step edge stand out in low light.
Installing stair nosing strips is an easy but worthwhile DIY task that significantly improves your stairs’ longevity and safety. Whether you’re equipping a residential staircase or a business stairwell, the type of material for the nosing and installation method are significant factors. If you follow the steps below, you should be able to successfully complete the task, providing safe and fashionable stairs for years to come. Also Read
If unsure about some of the steps or working with complex stair materials, don’t be afraid to hire the services of a professional installer to assist or advise.


