UAE Nutraceuticals Market Size, Share, Trends, Growth Factors And Forecast 2032
The increasing urge to enhance individuals' daily wellness quotient to drive the UAE Nutraceuticals Market expansion.
What is the market size of the UAE Nutraceuticals Market right now, and how fast is it expanding annually?
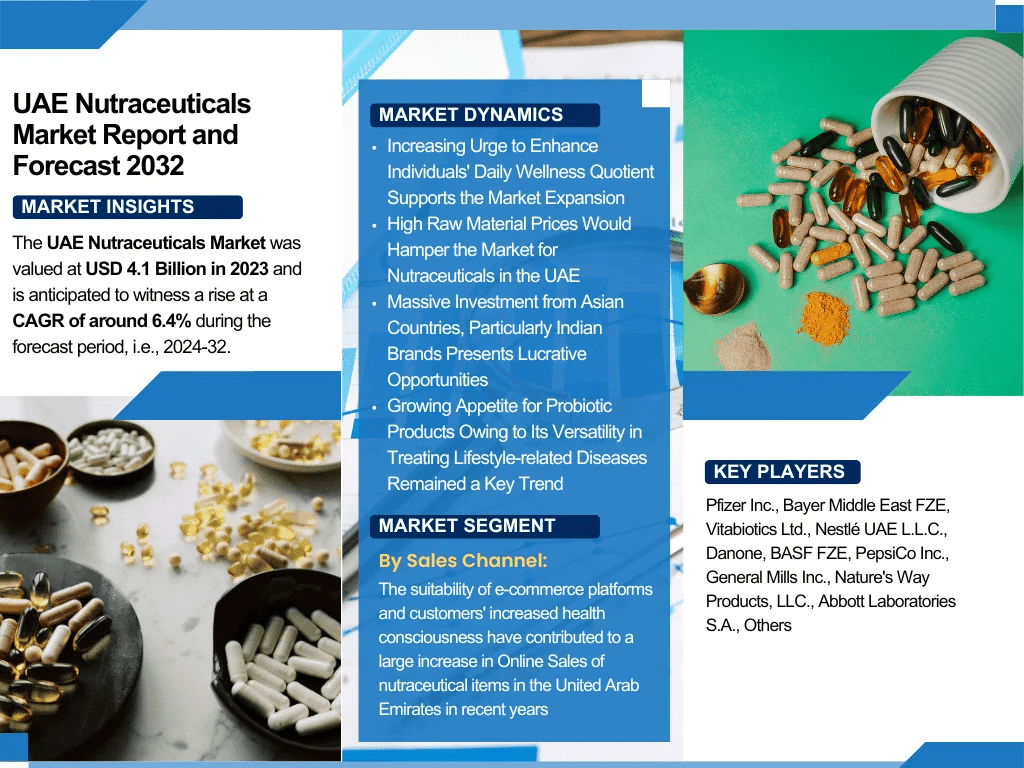
According to recent study by The Report Cube future of the UAE Nutraceuticals Market was valued at USD 4.1 Billion in 2023 and is anticipated to witness a rise at a CAGR of around 6.4% during the forecast period, i.e., 2024-32.
Which Companies Dominate the UAE Nutraceuticals Market Today?
- Glanbia plc.
- MusclePharm Corporation
- Iovate Health Sciences International Inc.
- Dymatize Enterprises LLC
- Universal Nutrition Corporation
- Labrada Bodybuilding Nutrition, Inc.
- Cytosport, Inc.
- Abbott Laboratories Inc.
- General Nutrition Centers, Inc.
- Atlantic Multipower UK Limited
Get comprehensive data and forecasts on the UAE Nutraceuticals Market. Access the full report now: https://www.thereportcubes.com/report-store/uae-nutraceuticals-market
What are the market dynamics Are Accelerating in the UAE Nutraceuticals Market?
- Increasing Urge to Enhance Individuals’ Daily Wellness Quotient Supports the Market Expansion
Numerous Asian brands aim to increase every household’s daily wellness quotient by introducing ancient techniques to the UAE market through their cutting-edge & avant-garde solutions. By offering innovative nourishing products, the companies are enthusiastically looking forward to expanding their consumer base in the coming years, further driving the UAE Nutraceuticals Market. For instance, the Ayurvedic nutrition company Kapiva, based in Mumbai, has declared that it plans to expand globally, starting with the UAE and the US. Market-specific customer insights and behavior are the focal points and driving forces behind the company’s expansion strategy.
- High Raw Material Prices Would Hamper the Market for Nutraceuticals in the UAE
Due to its poor capacity to process raw materials for nutraceuticals, such as collagen peptides & branched-chain amino acids, the UAE has historically imported dietary supplements, mainly from China, India, and the US. Furthermore, the UAE’s reliance on imports, in general, has resulted in high pricing for dietary supplements. Given the high pricing of dietary supplements, the UAE Nutraceuticals Market has been facing difficulties due to the rising cost of supplements.
Download PDF Sample Report – Complete Data in One Place: https://www.thereportcubes.com/request-sample/uae-nutraceuticals-market
What are the key segments of the UAE Nutraceuticals market?
- Market Share, By Dietary Supplements
- Proteins & Peptides
- Vitamins & Minerals
- Herbals (Ayurveda Extracts, Plant Extracts, Algal Extracts, And Phytochemicals)
- Others (Fatty Acids and Fiber)
- Market Share, Functional Foods
- Probiotics Fortified Food
- Omega Fatty Acid Fortified Food
- Branded Ionized Salt
- Branded Wheat Flour
- Others (Fortified Rice, Infant Formula, etc.)
- Market Share, By Functional Beverages
- Fruit & Vegetable Juices and Drinks
- Dairy & Dairy Alternative Drinks
- Non-Carbonated Drinks (Bottled Water, Tea, And Coffee)
- Other (Herbal Tea, Sports Drinks, And Energy Drinks)
- Market Share, By Source
- Plant
- Animal
- Microbial
- Market Share, By Form
- Tablets and Capsules
- Gummies and Soft Gels
- Powder & Liquid
- Market Share, By Sales Channel (USD Million)
- Supermarket/Hypermarket
- Specialty Stores
- Online
Get a Customized Market Report – Precision Data for Your Strategy:
What You Will Get in This Market Report
- Comprehensive Market Overview – Detailed analysis of the current market size, historical performance, and growth trends shaping the industry.
- Key Market Dynamics – Insights into major drivers, emerging opportunities, and challenges impacting growth.
- Competitive Landscape Insights – Profiling of leading companies, their strategies, product portfolios, and market positioning.
- Strategic Recommendations – Actionable guidance for market entry, regional expansion, and innovative product development.
- Future Market Outlook (2025–2032) – Reliable forecasts and growth projections to support long-term planning.
- Technological Advancements & Innovation Trends – Assessment of emerging technologies and product innovations influencing the market.
- High-Growth Segments & Investment Opportunities – Identification of fast-expanding market segments and lucrative business areas.
Report Delivery Format – At The Report Cubes, our market research studies are available in PDF, Excel, and PowerPoint formats for your convenience. Once the payment is successfully processed, the report will be delivered directly to your registered email address within 24 hours.
Question and Answers for This Report – The Report Cube
- What is the current size of the UAE Nutraceuticals Market?
- What is the UAE Nutraceuticals Market share distribution across key segments?
- What are the key segments of the UAE Nutraceuticals Market?
- At what CAGR is the UAE Nutraceuticals Market expected to grow during the forecast period?
- What are the latest trends shaping the UAE Nutraceuticals Market?
- What are the major drivers of UAE Nutraceuticals Market growth?
- What opportunities exist in the UAE Nutraceuticals Market?
- What challenges could impact the UAE Nutraceuticals Market outlook?
- Who are the top companies operating in the UAE Nutraceuticals Market?
- Can this UAE Nutraceuticals Market report be customized to specific business needs?
Explore More Reports
About Us:
At Report Cube, we are more than just a market research company; we are your strategic partner in unlocking the insights that drive your business forward. With a passion for data, a commitment to precision, and a dedication to delivering actionable results, we have been a trusted resource for businesses seeking a competitive edge.
Our mission is to empower businesses with the knowledge they need to make informed decisions, innovate, and thrive in an ever-evolving marketplace. We believe that data-driven insights are the cornerstone of success, and our team is dedicated to providing you with the highest quality research and analysis to help you stay ahead of the curve.
Our Commitment is to your success. We understand the challenges and opportunities that businesses face in today’s dynamic environment, and we’re here to help you navigate them with confidence. Our work is not just about collecting data; it’s about providing you with the knowledge and insights that empower you to make smarter decisions and achieve your business goals.
For further support, reach out to our expert analysts today
OFFICE
The Report Cube
Burjuman Business Tower, Burjuman, Dubai
Tel : +971 564468112 (WhatsApp)
Email : sales@thereportcubes.com
Press Release – https://www.thereportcubes.com/press-release
Trending Blog- https://www.thereportcubes.com/blogs/top-facility-management-companies-in-uae