Airconditioningsysteem installeren: een complete gids voor huiseigenaren
Wanneer de zomertemperaturen stijgen, is een betrouwbaar koelsysteem niet langer een luxe maar een noodzaak. Het comfort in je huis hangt grotendeels af van de prestaties van je airconditioning, en dat begint met een correcte installatie van het airconditioningsysteem. Of je nu een oud toestel vervangt of een nieuw systeem installeert in een pas gebouwd huis, inzicht in het installatieproces, de vereisten en de beste praktijken helpt je weloverwogen beslissingen te nemen die zorgen voor langdurig comfort en efficiëntie.
Waarom correcte installatie belangrijk is
De efficiëntie en levensduur van een airconditioningsysteem hangen sterk af van de kwaliteit van de installatie. Zelfs de meest geavanceerde en dure modellen kunnen slecht presteren of meer energie verbruiken wanneer de installatie verkeerd wordt uitgevoerd. Slechte installatie kan leiden tot frequente storingen, ongelijkmatige koeling, hogere elektriciteitsrekeningen en een kortere levensduur van het toestel.
Bij professionele installatie profiteer je van nauwkeurige dimensionering, correcte plaatsing, juiste koelmiddelvulling en een optimale luchtstroomopstelling. Deze factoren zorgen er niet alleen voor dat je woning koel blijft, maar helpen ook om op lange termijn operationele kosten te besparen.
Soorten airconditioningsystemen
Voordat je een installatie plant, is het belangrijk de verschillende soorten systemen te kennen. Elk heeft unieke voordelen en installatievereisten:
-
Centrale airconditioning – Ideaal voor het koelen van grote ruimtes, waarbij luchtkanalen koele lucht door het hele huis verspreiden.
-
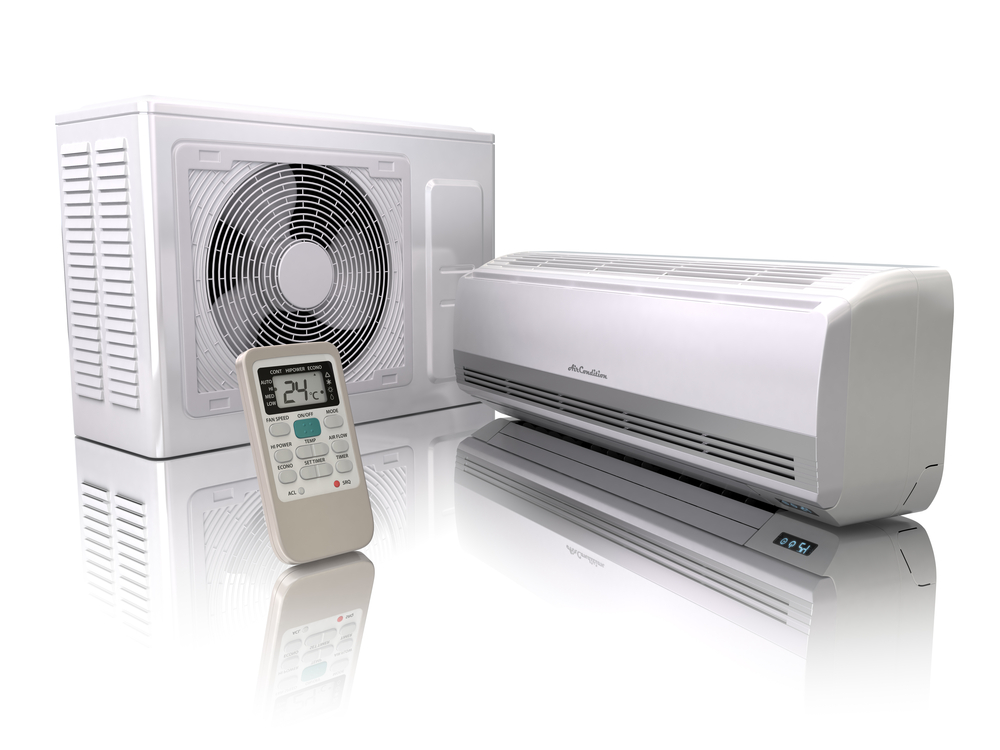
Split-AC-systemen – Populair in woningen, bestaande uit een binnenunit en een buitencompressor.
-
Raamunits – Kosteneffectief en eenvoudig te installeren voor losse kamers of kleine appartementen.
-
Draagbare airco’s – Mobiele oplossingen voor tijdelijke koelbehoeften.
-
Kanaalloze mini-splits – Perfect voor woningen zonder kanalen, met zone-specifieke koeling.
Factoren om te overwegen vóór installatie
1. Correcte dimensionering
Een te groot toestel koelt je huis snel, maar schakelt vaker in en uit, wat energie verspilt en comfort vermindert. Een te klein toestel heeft moeite om de gewenste temperatuur te behouden. HVAC-professionals gebruiken berekeningen om de juiste capaciteit voor je woning te bepalen.
2. Energie-efficiëntie
Controleer de SEER (Seasonal Energy Efficiency Ratio)-waarde van het systeem. Hoe hoger de SEER, hoe energiezuiniger, en hoe lager je energierekening.
3. Plaatsing van de unit
De juiste plaatsing van binnen- en buitenunits is cruciaal. De buitenunit moet in een schaduwrijke, goed geventileerde ruimte staan, terwijl de binnenunit zo geplaatst moet worden dat lucht gelijkmatig kan circuleren.
4. Budget en lange termijnkosten
Naast de aanschafprijs moet je ook kijken naar onderhoudskosten en energieverbruik gedurende de levensduur van het systeem.
Het installatieproces
Een professionele airconditioninginstallatie verloopt meestal volgens deze stappen:
-
Inspectie en planning – De technicus bekijkt je huis, berekent de koelbehoefte en bepaalt de beste aanpak.
-
Voorbereiding van de locatie – Eventuele oude apparatuur wordt verwijderd en de installatieplek wordt klaargemaakt.
-
Plaatsing van binnen- en buitenunits – Correcte uitlijning, stevige bevestiging en optimale plaatsing.
-
Aansluiten van koelmiddelleidingen – Koperen leidingen verbinden de units om koelmiddel te laten circuleren.
-
Elektrische aansluitingen – Het systeem wordt aangesloten volgens veiligheidsvoorschriften en richtlijnen van de fabrikant.
-
Testen en kalibreren – Het systeem wordt getest op lekken, luchtstroom, temperatuurregeling en algemene werking.
-
Uitleg voor de klant – De technicus geeft uitleg over gebruik, onderhoud en garantie.
Veelgemaakte fouten om te vermijden
Zelfs met professionele hulp is het goed om de valkuilen te kennen:
-
Geen belastingberekening uitvoeren → leidt tot verkeerde capaciteit.
-
Slechte kanaalontwerpen → lekkages en slechte isolatie verspillen energie.
-
Verkeerde koelmiddelvulling → beïnvloedt de koelprestaties negatief.
-
Onvoldoende luchtstroomvoorziening → veroorzaakt ongelijkmatige koeling en slijtage.
Onderhoud na installatie
Na de installatie is regelmatig onderhoud essentieel om je systeem optimaal te laten werken:
-
Filters regelmatig schoonmaken of vervangen.
-
Luchtkanalen inspecteren.
-
Koelmiddelniveaus controleren.
-
Bewegende onderdelen smeren en coils reinigen.
-
Jaarlijks professioneel onderhoud plannen.
Voordelen van professionele installatie
Professionele installatie zorgt voor naleving van lokale bouwvoorschriften, behoud van fabrieksgaranties en optimale systeemefficiëntie. Ervaren technici hebben de kennis en apparatuur om complexe installaties uit te voeren, zodat je woning koel blijft zonder energie te verspillen.
Conclusie
Investeren in een hoogwaardig koelsysteem is slechts de helft van het verhaal – de andere helft is correcte installatie. Door samen te werken met gekwalificeerde professionals en inzicht te hebben in het proces, kun je comfort, efficiëntie en levensduur maximaliseren. Of je nu een oud toestel vervangt of een nieuw systeem plaatst, een juiste installatie van het airconditioningsysteem helpt je jarenlang te genieten van een koel huis en lagere energierekeningen.
Energie-efficiëntie is een van de belangrijkste overwegingen bij de keuze van een unit. Hogere SEER-waardes vertalen zich naar lagere elektriciteitsrekeningen en een kleinere ecologische voetafdruk. Energy Star-gecertificeerde modellen zijn getest op zowel prestaties als efficiëntie.Moderne units bevatten invertertechnologie voor consistente temperatuurregeling, geavanceerde filtersystemen voor betere luchtkwaliteit en slimme thermostaten voor bediening op afstand. Deze functies verhogen niet alleen het comfort, maar verlengen ook de levensduur van het systeem.