Beginner’s Guide to Building Your Own Chicken Coops
Raising backyard chickens has become increasingly popular among homeowners, urban farmers, and sustainability enthusiasts. Whether you want fresh eggs daily, natural pest control, or just the joy of having feathered friends, one thing is essential: a safe and functional chicken coop. Building your own chicken coops not only saves money but also allows for customization based on your space, climate, and flock size.
In this beginner’s guide, you’ll learn everything you need to know to confidently design and build your first chicken coop—from planning and materials to layout and maintenance.
Why Build Your Own Chicken Coop?
Purchasing pre-made chicken coops can be convenient, but building your own has distinct advantages:
-
Cost-effective: You can often build a custom coop for less than the price of a store-bought model.
-
Tailored to your space: Design it to fit your yard perfectly.
-
Custom features: Add features like extra nesting boxes, built-in feeders, or predator-proofing.
-
Satisfaction: There’s something rewarding about building a home for your animals from scratch.
Let’s break down the process step by step so you can get started.
Step 1: Know Your Flock Size
Before you start hammering nails, determine how many chickens you plan to keep. This directly affects the size of your coop.
General space guidelines:
-
2–4 square feet per chicken inside the coop
-
8–10 square feet per chicken in the outdoor run
For example, a flock of 6 chickens would need a coop that’s at least 24 square feet inside (e.g., 6′ x 4′) and about 60 square feet in the run.
Planning space wisely prevents overcrowding, which can lead to stress, feather pecking, and reduced egg production.
Step 2: Choose a Good Location
The placement of your chicken coop matters. You want to ensure your chickens are comfortable and protected.
Ideal location tips:
-
Slightly elevated area to avoid flooding
-
Partial shade in summer but some sun in winter
-
Away from heavy foot traffic, yet easily accessible
-
Close to a water source and feed storage
Avoid placing chicken coops directly under trees where predators might perch or where heavy snow or branches could fall.
Step 3: Gather the Right Materials
The durability and safety of your coop depend heavily on the materials you use.
Basic materials for chicken coops include:
-
Pressure-treated lumber or weather-resistant wood
-
Galvanized hardware cloth (stronger than chicken wire)
-
Corrugated metal or shingle roofing
-
Exterior-grade screws and hinges
-
Nesting box materials (wood or plastic bins)
-
Paint or wood sealant for protection
Repurposed materials, like old pallets or reclaimed wood, can help cut costs—as long as they’re safe and clean.
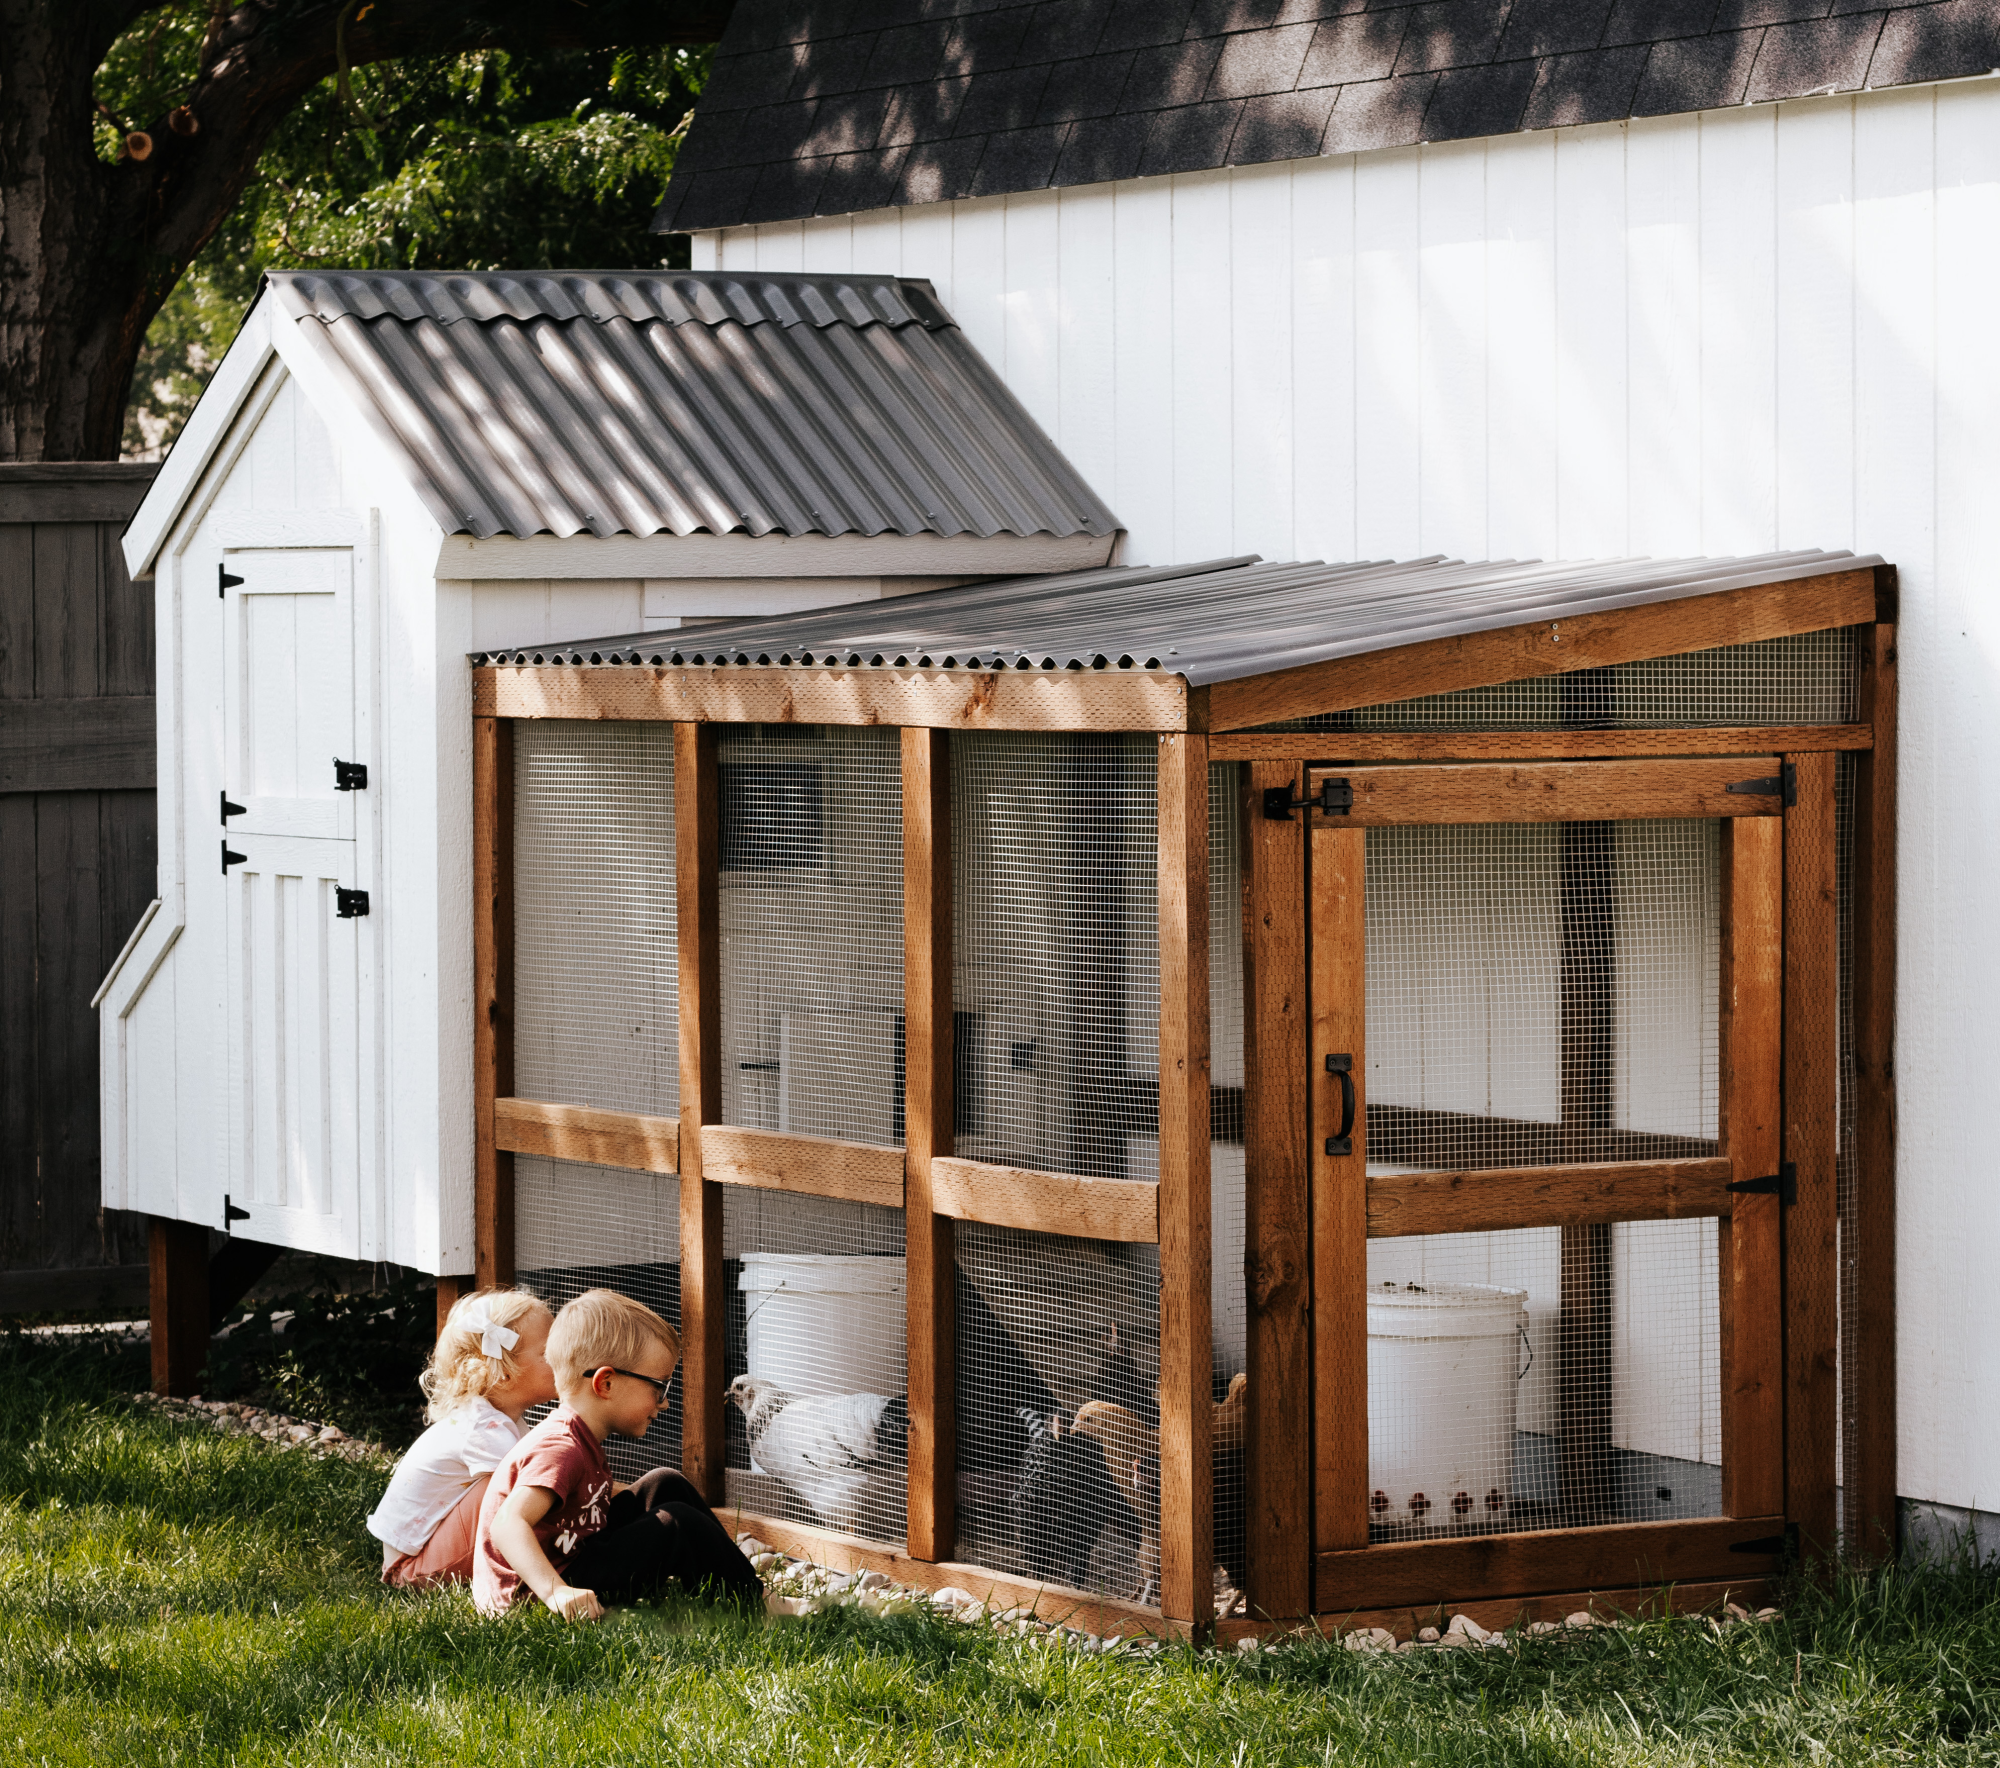
Step 4: Design for Functionality
Your coop needs to be more than a box with walls. Chickens require a clean, well-ventilated, and secure environment.
Must-have features in chicken coops:
-
Nesting boxes: 1 for every 3–4 hens (e.g., 2 boxes for 6 chickens)
-
Roosting bars: Chickens sleep off the ground; allow 8–12 inches per bird
-
Ventilation: Vents near the roof help reduce ammonia and moisture buildup
-
Easy access doors: For cleaning, collecting eggs, and feeding
-
Predator-proofing: Use hardware cloth instead of chicken wire; bury fencing at least 12 inches underground to deter digging predators
A sloped roof will help with water runoff, and including a window can provide natural light and airflow.
Step 5: Build the Coop
Now comes the fun part: construction. If you’re new to DIY, start with a simple rectangular structure and basic tools like a drill, saw, measuring tape, and level.
Construction tips:
-
Build the frame first, then add the walls, roof, and doors.
-
Install the floor slightly above ground to prevent dampness.
-
Attach hardware cloth to all openings, including windows and vents.
-
Make sure doors and latches close tightly—raccoons are surprisingly clever.
If you’re unsure about structural strength, don’t hesitate to follow free online plans specifically made for chicken coops.
Step 6: Add Interior Features
To make life easier for both you and your chickens, consider adding these interior features:
-
Feeder and waterer holders: Keep them elevated to avoid mess
-
Dropping board: Collects manure under roosts for easy cleaning
-
Lighting: Optional for extending egg production in winter
-
Dust bath area: A shallow box filled with sand and wood ash helps chickens stay clean and parasite-free
Always use non-toxic paints or sealants inside the coop, as chickens will peck at surfaces.
Step 7: Maintain the Coop Regularly
Building chicken coops is just the beginning. Proper maintenance keeps your chickens healthy and your structure lasting for years.
Maintenance checklist:
-
Clean droppings and bedding weekly
-
Check for holes, loose boards, or signs of predators
-
Replace straw or shavings in nesting boxes
-
Disinfect food and water containers
-
Inspect roof and vents after storms
Deep-clean the entire coop every few months to prevent the spread of disease and parasites.
Final Thoughts
Building your own chicken coops can be a fun, educational, and rewarding experience. Not only do you gain a deeper understanding of your flock’s needs, but you also create a space that suits your lifestyle, space limitations, and design preferences.